
The Basics of Camera Settings
- Marta Griffin | September 26, 2022
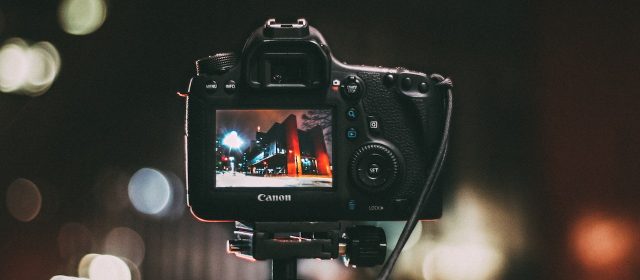
If you are new to photography, then the very idea of adjusting camera settings can be scary. You would probably be overwhelmed by the various options available. It is not necessary that you master all camera settings. Photography editing can be used to save a poorly captured photo.
Knowing the basics would help. As you start playing around with these settings, you can learn more about other settings. Our guide tells you all about the three most important basic camera settings.
Free Stock Image: StockFreeImages.com
3 Basic Elements of Camera Settings
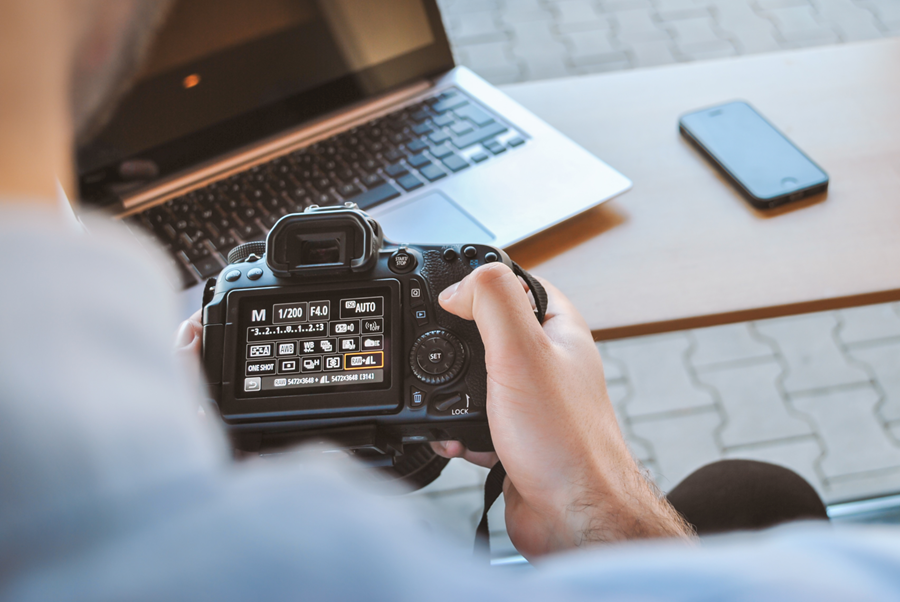
There are various settings that need to be adjusted if you want to get the perfect shot. Here are three of the most basic elements you need to know about. Once you know how to use these settings well, you will be on your way to becoming a professional photographer.

Stock photo: Dreamstime Stock Photos
1) Aperture
The aperture describes how much open the lens is. This would determine the amount of light that would pass through. The light amount is described using the term f-stop. If the f is lower, then it means more light will pass through.
If the aperture is more, then more light passes through. As a result, the depth of field becomes shallow. The higher the depth of field, the better the focus and sharpness of the image. Your camera would have options allowing you to change the aperture.
Some cameras would have an option for you to use a wheel to change the aperture. Most digital cameras have an option in the menu that you can use to change the aperture. If you are shooting in low light, you need a wide aperture. When you shoot landscapes, you need more focus and hence should choose a small aperture.
Stock photo: Megapixl Premium Stock Photos
2) Shutter Speed
In simple terms, shutter speed is how long the sensor is exposed to light. We are talking here about fractions of seconds. If you increase the shutter speed, more light falls on the sensor. The picture would then be brighter. Here, it is important to talk about the movement of the object you are focusing on.
If you are shooting cars or animals that are moving around, then it is natural that there would be blurring. If you want to prevent this blurring, then you need a very fast shutter speed. Conversely, if you are shooting a waterfall and want the water to look soft then use a shutter speed that is long.
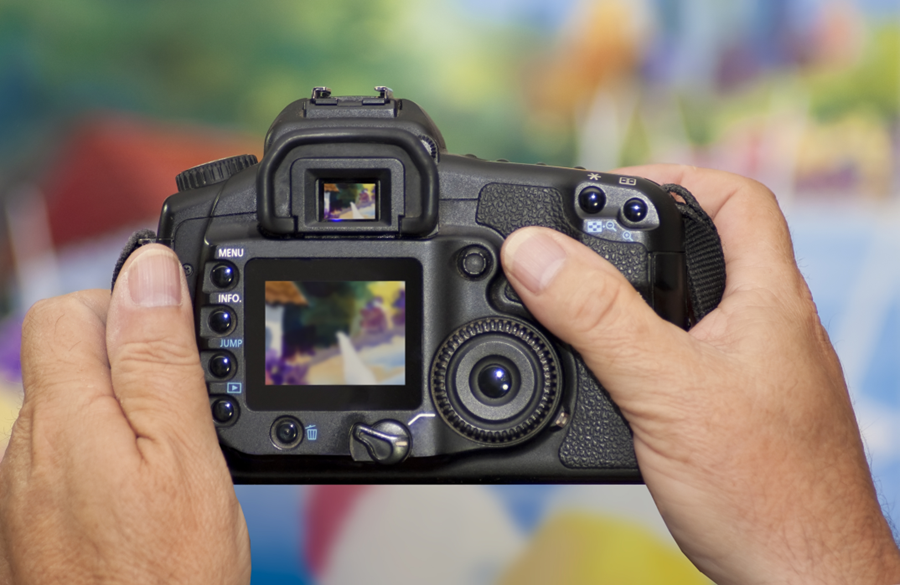
Wildlife photography and sports photography call for a long shutter speed. You can go with a slow shutter speed for night photography. You can adjust the shutter speed using the dial provided or from the menu.
Stock photo: Dreamstime Stock Photos
3) ISO
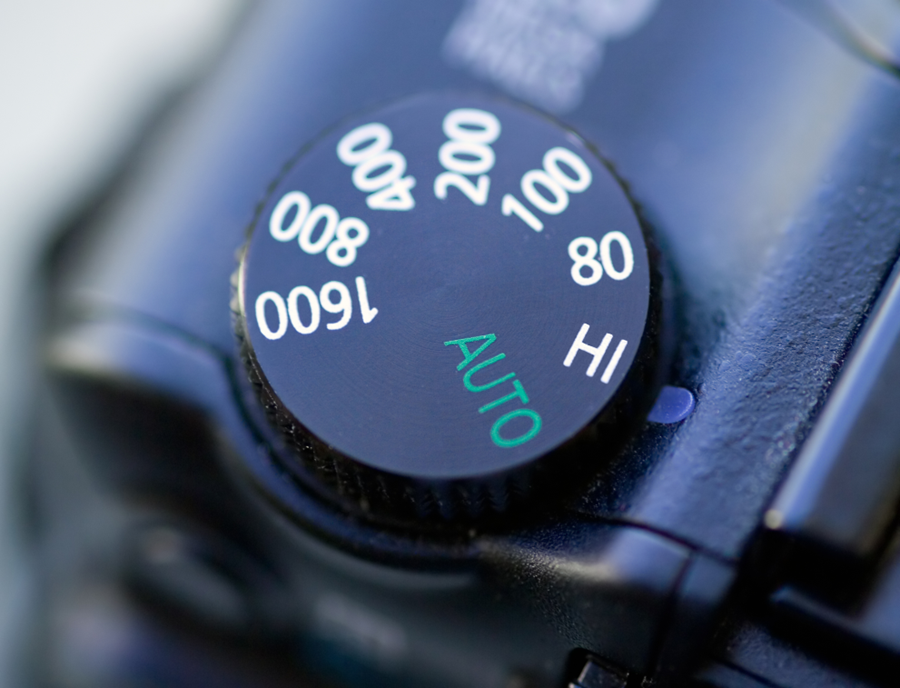
ISO is a technical term associated with cameras. It describes how sensitive your camera is to light. If the ISO value is low, then the camera is less sensitive to light. A higher ISO value makes your camera more sensitive to light. So, what does this mean practically?
When you use a low ISO, you can get a picture of high quality. It ensures there is no noise or graininess in the photo you take. When you are shooting outdoors, then using a low ISO would be helpful. It helps you get photos that are sharp and of great quality.
If the light is less, then you can increase the ISO settings from your camera’s menu. Another benefit of high ISO is to minimize camera shake.
Using the 3 settings
The 3 settings of aperture, shutter speed, and ISO are together referred to as the exposure triangle. If you want brighter exposure, you need to increase the aperture and ISO while reducing shutter speed. Adjusting all three settings together will help you get the best shot.
In conclusion, use these tips and practice them as much as you can to nail the perfect shot!
twitter
pinterest
email
rss